


In the previous blog we gave you 4 easy conversion ideas for the new Cadian™ shock troop miniatures from Games Workshop™. Now Staffer Adam is going to go a little bit further, and swap in some more parts to show just how easy it is to really personalise your figures!
Project One : Renegades!
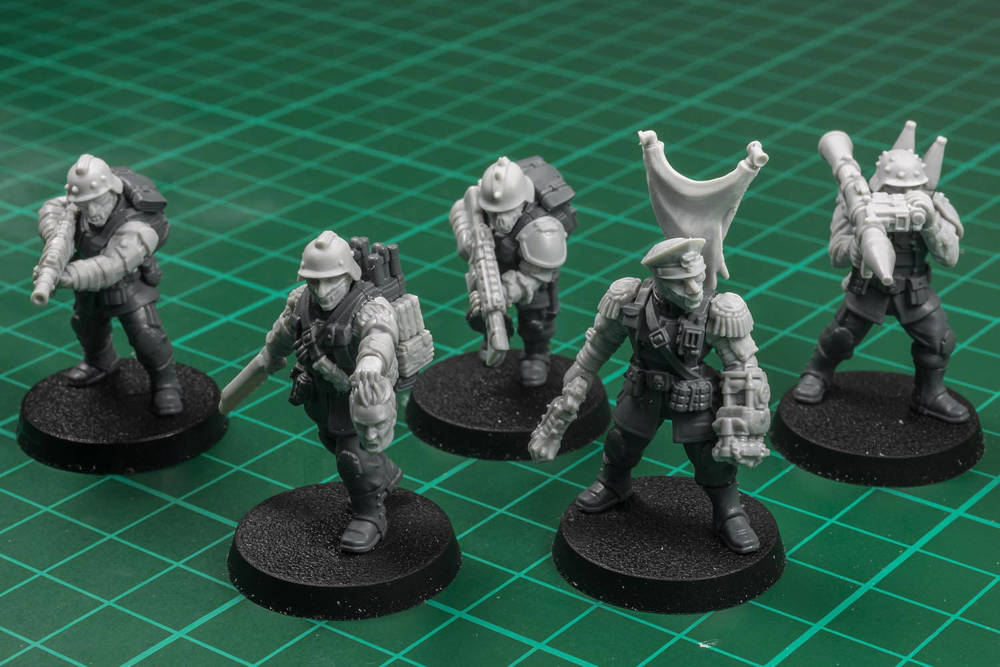
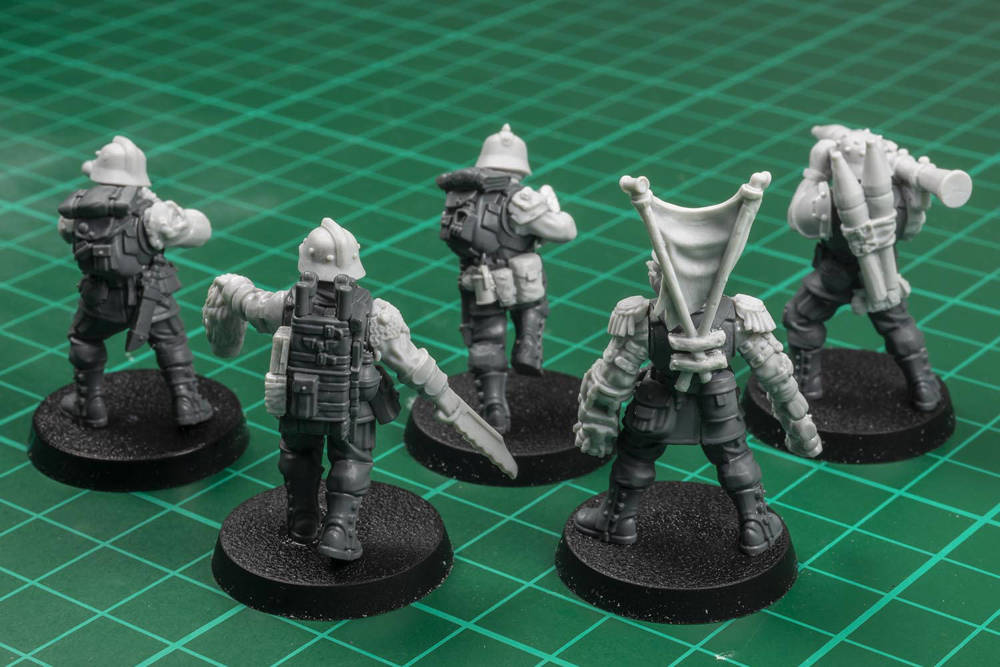
Using our Renegade Arms turned out to be a surprisingly easy swap from the standard Cadian arms! The torso width and angles have stayed essentially identical, and so I was able to use our arms with only a single modification - removing the locator peg on the inner shoulder joint to create a flat surface that will attach seamlessly onto the new guardsman torsos.
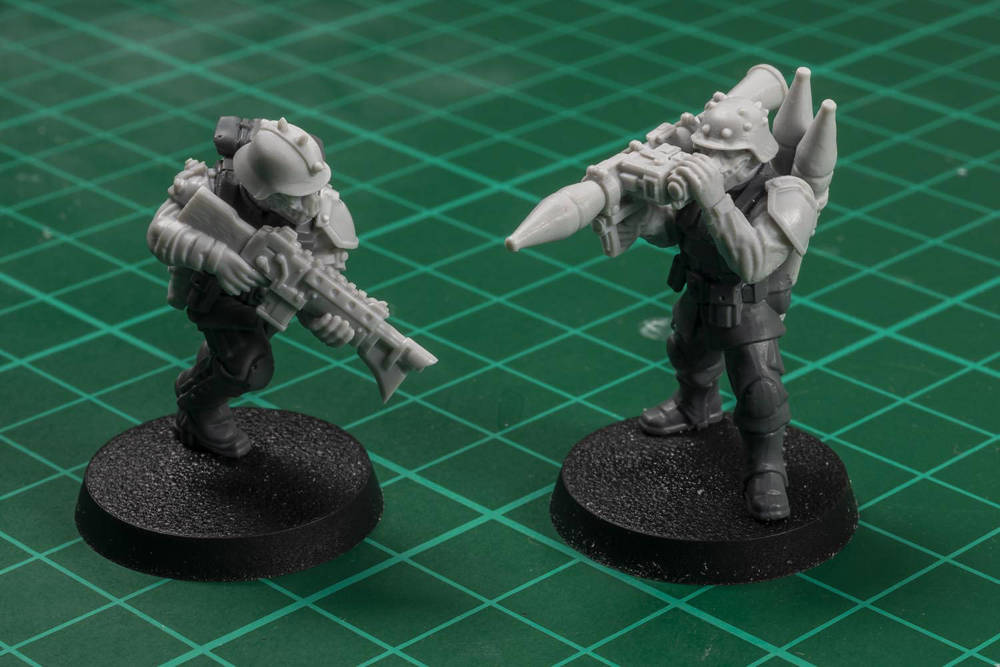
This meant that I could use one of our dozens of different rifles (I chose Renegade Rifles), and even our Fatigue Missile arms with an RPG Launcher without any need for gap filling. I did have to slice off a very small part of the over-the-shoulder strap to get the rifle arms seated correctly, but it really was that simple!
Mixing in some of the of the Raider Upgrade parts for the squad leader to give him a Back-Banner and Punchy-Fist, as well as an Ion Renegade Pistol and the peaked cap from the Grotesque Helmets sprue.
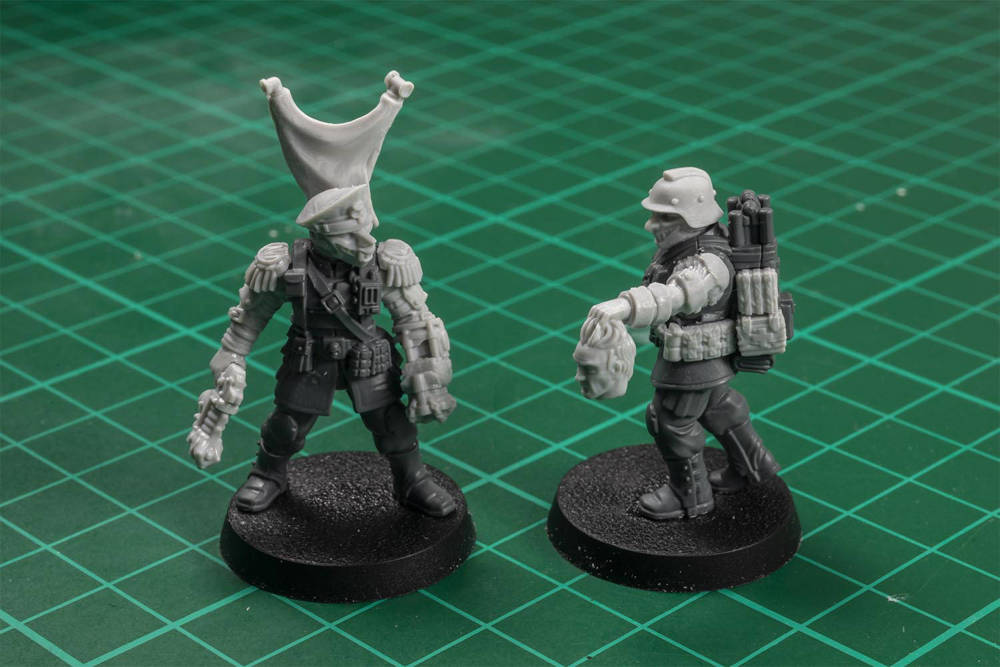
Lastly, I wanted a suitable conversion to represent my command squad's medic, and found the perfect part in the Sawbones character for, what else? The bonesaw! The Renegade Command arms for the severed head completed the grizzly "medic".
Project Two : Trencher Squaddies!
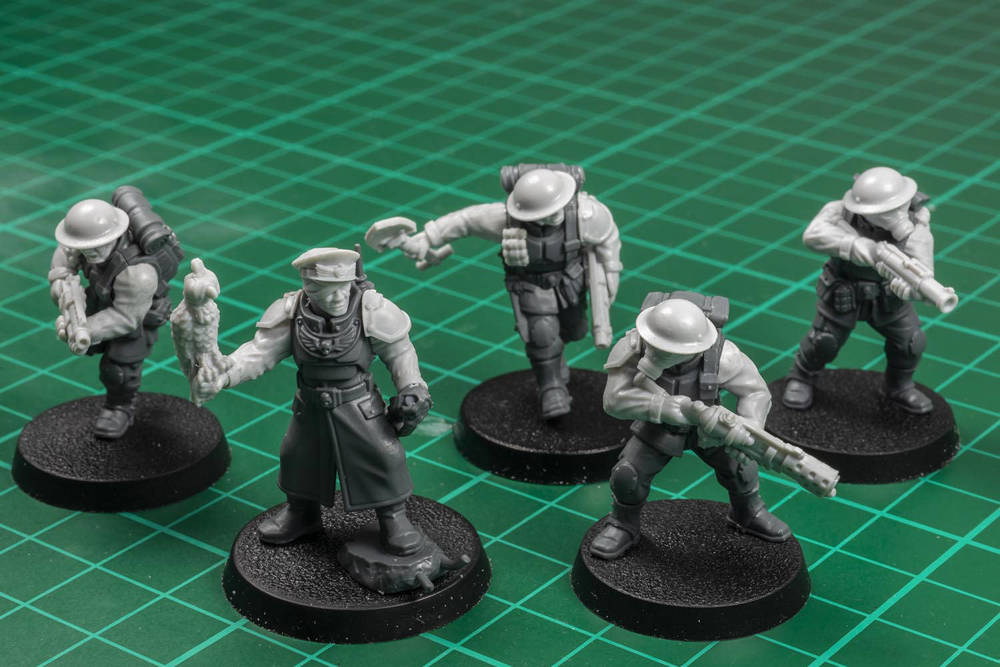
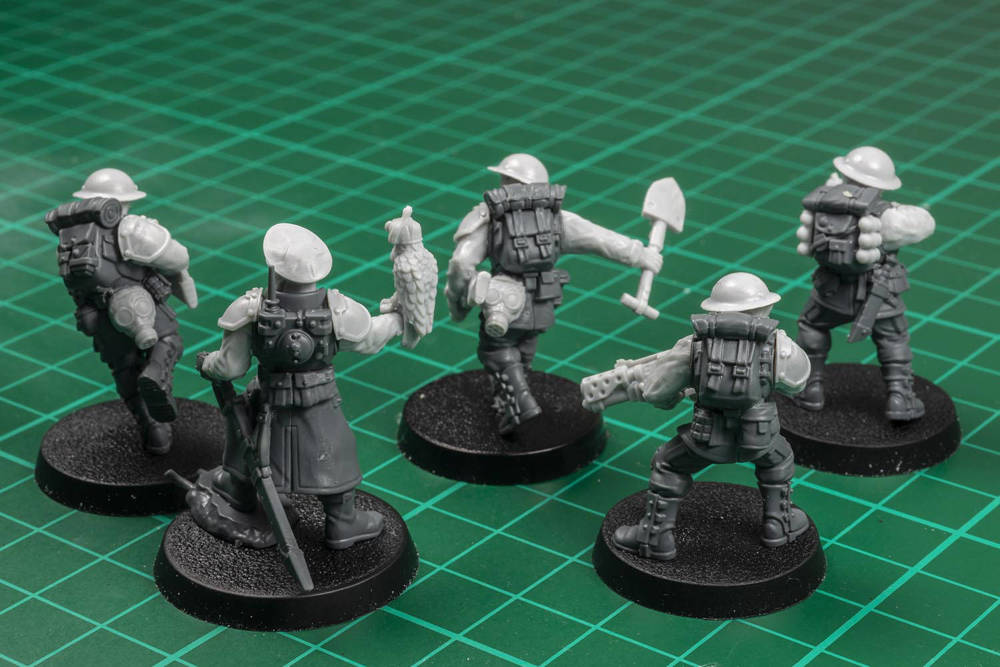
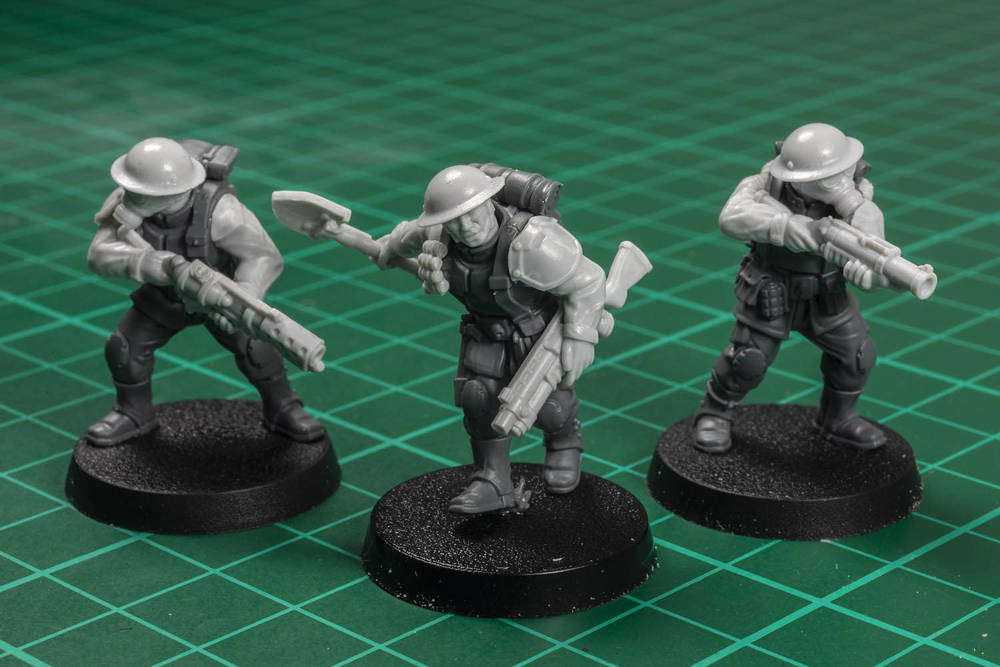
For the Trencher squaddies I also swapped out the arms, this time to Fatigue Rifle-Stock. I used the Trench Shotgun and Flame Thrower from the Rifle-Stock Special Weapons for their weapons and a mix of Brodie Helmets and Brodie Gasmask heads. The M79 Grenade Launcher arms also fit perfectly, and with the addition of a few pouches, grenades, a spare gasmask, and the all important Entrenching Tool, I had my veterans complete.
For the commander I made use of the long trenchcoat Cadian body and wanted to keep the hand resting on the pommel of his sabre. As luck would have it, our Fatigue Command Arms were up to the task for swapping out, which let me use our Officer Upgrades to give him a Falcon. His head came from our Dress Uniform Officer Heads

Thanks Adam!
From these two Blogs we've learned that:
- Our arms fit the new Cadian™ torsos like a dream, allowing for complete customisation of the weapon loadout.
- A head-swap completely changes the aesthetics of each squad, allowing for modern, historical, and sci-fi elements to be blended in without any issues.
- It only takes a couple of sprues of upgrade parts or bit swaps to achieve!
Do you have a favourite squad conversion shown here in these two Blogs? Any Questions? Comment below or email support@anvilindustry.co.uk
![Picture of Renegade Arms 1 - Shooting (5) [Pistol Grip]](https://anvilindustry.co.uk/images/thumbs/0004114_renegade-arms-1-shooting-5-pistol-grip_440.jpeg "Show details for Renegade Arms 1 - Shooting (5) [Pistol Grip]")
![Picture of Renegade Rifles (6) [Pistol Grip]](https://anvilindustry.co.uk/images/thumbs/0024315_renegade-rifles-6-pistol-grip_440.jpeg "Show details for Renegade Rifles (6) [Pistol Grip]")
")
")
")
")
")
I'm glad there weren't any buyers! Very excited for this project now that I know it is possible.