


At one of the regular nights at HATE Club in Bethnal Green (London, UK), James and I (Russ) played a new scenario for the first time. The mission was written to represent a feint attack by a small elite force to create fear and confusion amongst a larger force of core troops and make command think a larger force was approaching the position, drawing forces away from elsewhere. The mission is part of a sequence of linked scenarios I am writing.
James used a 600 point elite force, consisting of two four-man Spectre squads, a four-man Support Tracer squad and a five-man Recon Tracer squad. I used the larger 1000 point force, made up of five 6-man grenadier squads and two 2-mech Raider squads (technically this breaks the force creation rules, but hey, it is my scenario!)
James could score victory points by suppressing OR destroying a squad of mine (but not both, so killing a squad that had already been suppressed or suppressing the same squad twice would still only give 1VP). I had to destroy a squad to score victory points.
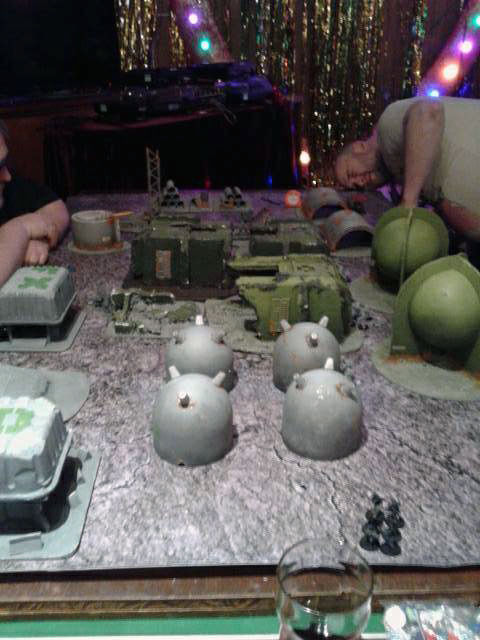 The Battlefield
I deployed across a wide spread of the table. I hoped to encircle James’s forces and hem them in so I could bring all of my firepower to bear. Sadly, this backfired. One of my flanks held firm mainly due to the presence of two Raiders along with some Grenadiers, but on the other flank my Grenadiers failed a reaction roll-off against his Fire Support Tracers and four died, leaving that flank very weak. At the mid-stage of the battle, I had no units destroyed, but two had been suppressed and I had only destroyed one unit, so James was leading 2VP against 1VP.
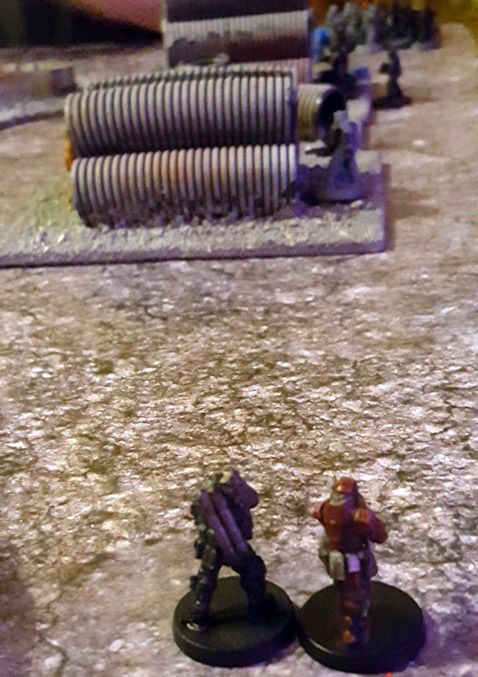 Grenadiers About to Die!
I was able to move more forces across, including two more Raiders from the centre of my lines and eliminate his Spectres near the middle, but it took longer than it should have and delayed me from starting to work on his Fire Support Tracers. By the time I eventually began targeting them, another of my Grenadier squads was reduced in number and soon suppressed. On the other flank, my Raiders and Grenadiers combined to kill his remaining Recon Tracers, so it was 3VP to 2VP.
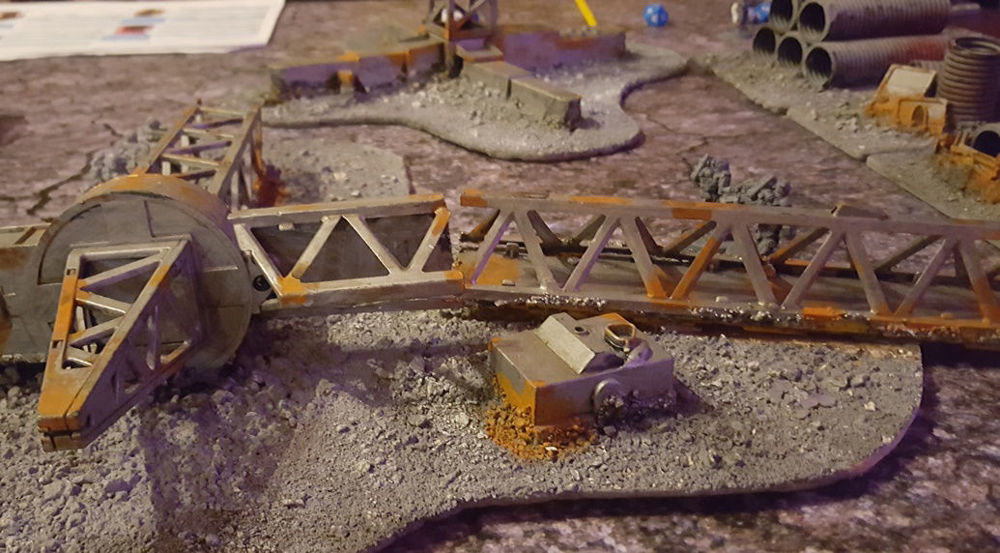 James' Fire Support Tracers
As the game came to an end, it was clear James had a plan which fit in very well with the mission background. One of his Spectre squads had not engaged at all and was still hidden. Now, with a lead of 1VP, and me needing to destroy both them and his remaining Fire Support Tracer if I were to overhaul his 3VP, they moved rapidly towards my weaker flank along with that Tracer, effectively removing two of my squads from the game completely. To win, I needed my two-man Grenadier squad to kill his Fire Support Tracer AND for my three-man Grenadier squad to detect his Spectres so that the two full-sized squads moving over from the middle of the tables could successfully blaze away at them from range and probably eliminate them. Sadly for my force, which was now surely convinced they were under full-scale assault, my two-man Grenadier squad failed the reaction roll and were killed before they could even shoot at the Tracer, guaranteeing James 4VPs, and meaning I now had to destroy both of his squads even for the draw!. My grenadiers, with a reaction of just 3, need a 10 to detect James’s Spectres, as they had also managed to find some cover. Unsurprisingly, they failed, handing James a 4VP to 2VP victory.
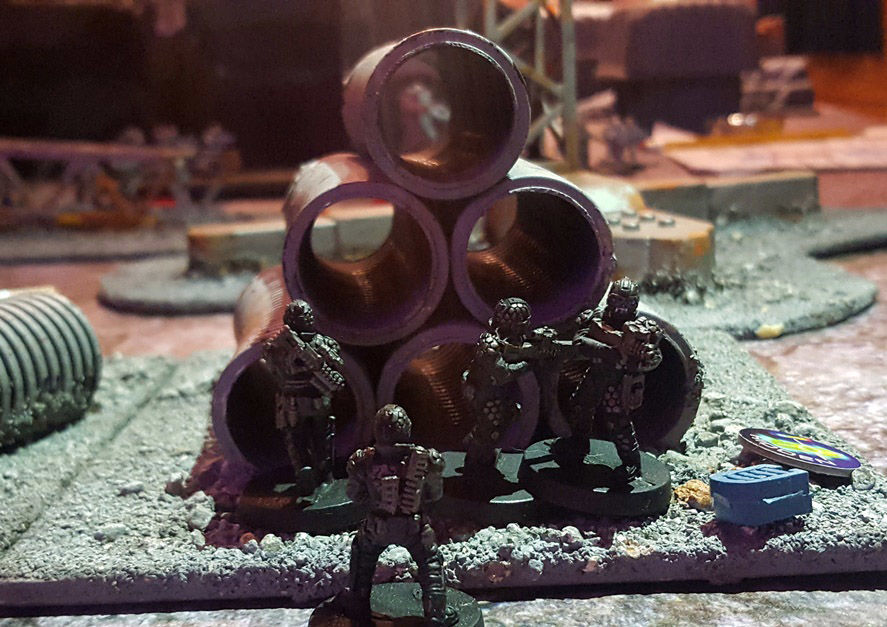 Spectre's Hiding
This was a really enjoyable scenario to play. The challenge of playing with different value forces, with very different composition, and different objectives meant we both had a totally different view of the battle. As it went on, I could almost hear my Grenadiers panicking over the com-channel, assuring headquarters that they were being overwhelmed and demanding reinforcements from other sectors. As James’s surviving troops left the scene of the carnage and confusion they had caused, I could imagine them chuckling at my confused and frustrated survivors. Mind you, as Spectre Operatives, the most that could be expected was probably a satisfied half-smile.
If you would like to try this scenario, we’ve made a PDF which you can download HERE