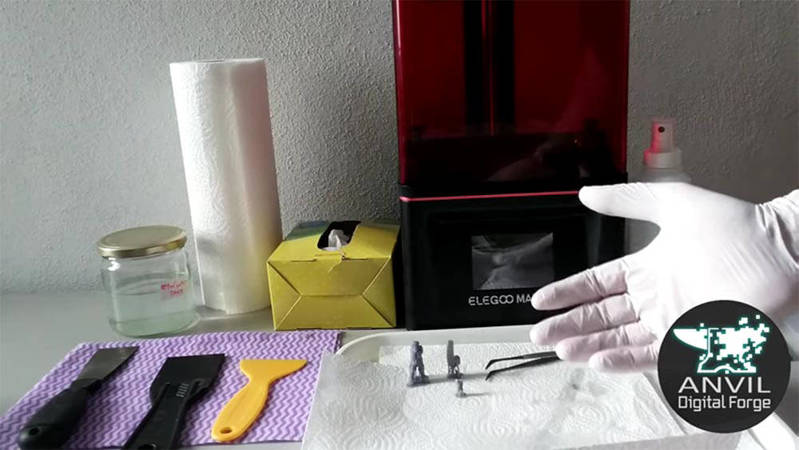
Hi, I'm Troy. You might know me from a YouTube channel named Sonic Sledgehammer, and such miniature painting guides as 'How I Paint Things.' (I might be dating myself a little with a Troy McClure gag as an introduction, but how often do you get the chance?).
-
The team at Anvil here got in touch to see if I'd be interested in making an introductory series on the basics of 3D printing, and I jumped at the opportunity. If you'd told me five years ago that I'd be able to make miniatures at home which were almost - and in some cases, completely - indistinguishable from those I'd buy in plastic or resin, I would have thought you were joking with me. Resin 3D printers existed, but they were distant, expensive machines that sat in dentists' offices and on fabrication prototype benches. Thing is, the technology has moved so quickly that we've gone almost overnight from completely unattainable to a hobbyist to something which is now priced around the same as some miniature starter sets.
-
There's a lot of established wisdom that 3D printing carries with it, too. "Resin stinks," or "3D prints always have ugly layer lines," or "They're too brittle to play games with!" Not so any more. Almost every month there's some new development which improves the quality of 3D prints, from the manufacturers to sculptors taking advantage of new knowledge and skills to improve the workflow of the hobbyist printing at home. In a few week's time, who knows what new development might have made printing even easier?
-
Part One: STLs and Slicing
-
-
Summary
- Download and extract the model STL files.
- Import the STL into your slicer software (try Lychee or Chitubox).
- In the software, be sure to select your printer and resin to get the right settings, they may need tweaking if the print fails.
- Check the models are pre-supported (most Digital Forge models are), if not, you may need to add supports.
- When you have all the parts you want on the build plate, slice to create a printer readable file.
-
Anvil Industry are easily my favourite source of resin miniatures and conversion components (and if you've watched my videos before, you'll know I'm not just saying that!) so when they announced the launch of the Digital Forge shortly after I got my first 3D printer, signing up for their Patreon was immediate. Partnering with them to put together these short guides really has been a lot of fun. Work, but fun! For those of you who've never looked into or considered 3D printing in resin, these start from the very beginning. Everything is explained without assuming prior knowledge, and I hope that they answer a few important questions about the processes involved. If it helps make a decision about buying your own 3D printer and jumping on board with the Digital Forge, even better! I'm sure you'll get a kick out of making your own endless supply of miniatures - you'll never be short of something to paint!
-
Part Two: Printing, Cleanup and Curing
-
-
Summary
- Put the sliced file onto a USB and into the printer.
- Make sure the printer is properly calibrated.
- Fill with resin and print (use gloves when handling uncured resin).
- When the print is finished, remove the build plate, being careful to avoid drips.
- Detach the parts with a scraper, then if water washable, rinse in water, otherwise soak/swill in IPA for 5-10 minutes.
- Take the clean parts and post-cure, either under a UV lamp or in bright sunlight for up to 15 minutes.
- Remove the supports, assemble and paint!
-
You can get in touch on YouTube or through Twitter @sonicsledge if you've got any specific questions or comments, and I'll try to answer. Reddit and Facebook are often useful sources of information as well, and a quick Google search, if you're having a problem with your prints, will often reveal threads where people have already solved the same. Home 3D printing isn't just science fiction any more, and I've found the community around it is pretty universally helpful. Either through Patreon or via the Digital Forge section on the website here, you'll definitely find something which interests you and can be used either as the start of a new project or those little bits of extra interest on something you've been trying to finish.
-
If you do decide to get started and these guides have been helpful, be sure to let me know! I wish you all the best of luck on a new endeavour.
-
-Troy


